– See All Project Management Key Concepts –
Cost Forecasting Techniques
It’s time to look at the Cost Forecasting techniques that you will see as you go through your project management career, and definitely in the PMBOK guide.
So what is cost forecasting? As the project progresses the project team may need to develop forecasts for how much it will cost to complete the project, and compare these to the planned budget (such as the Budget at Completion or BAC). Maybe the project is going on track, but maybe it’s going along off track, or maybe it’s the cost is blowing out.
The value you’re delivering is changing because everything changes, and sometimes things just don’t go to plan. So we have to figure out how much is it going to cost us to finish all of the work that we’ve got, and that’s where this cost forecasting comes into play.
There are four main things that you will see on the PMP exam and in your project management career, and the main one that we’re looking at today is the Estimate at Completion, because there are lots of different ways of measuring and calculating this. But the other ones that we’ll go through in another article are the Estimate To Complete (ETC), the Variance at Completion (VAC) and the To Complete Performance Index (TCPI).
The scenario that we’re going to go through for all of these is we’ve got a project budget of $10,000 (the Budget at Completion) where 30% is completed (that’s our Earned Value / EV) against 40% planned (that’s our Planned Value) and $5,000 spent so far (this is our Actual Cost). So you’re going to see these things come up time and time again and we’re going to use these in the calculations for this particular project scenario.
Let’s jump into Estimate at Completion, and the many different ways that you can calculate this particular one. Estimate at completion it is the estimated total cost of completing all the work.
Basic EAC, When Work Proceeds as Planned
The first one we’re going to look at is the Actual Cost (AC) plus the Budget at Completion (BAC) minus the Earned Value (EV). This one is used for when everything is just going to be completed at the planned rate, so no matter what’s happened before we’re still still expecting things to proceed as they were planned.
Remember our budget at completion is $10,000, 30% is completed (that’s our earned value) and our planned value was 40%, so $4,000. $5,000 is our actual cost. Let’s jump into it – $5,000 plus our budget at completion ($10,000) minus our earned value ($3,000) equals twelve thousand. That’s what we’re expecting to have to pay to complete this project, the estimate at completion.
Notice that it’s different to our budget, what we had planned. We’d actually planned $10,000 and now it’s going to be $12,000, so this is going to factor in, we’re going to have to adjust, possibly do a change request, get more money, maybe use some of our management reserves, all of these things you’ll delve into in the PMBOK guide as well. Let’s look at the next one.
EAC, When Cost Performance Index Influences Future Work
We’ve got our Budget at Completion (BAC) divided by our CPI (Cost performance index), and our CPI is our Earned Value divided by our Actual Cost.
Let’s delve into the calculation. BAC of $10,000, divided by CPI (30% of $10,000 divided by $5,000 actual cost). So our CPI is our earned value divided by actual cost equals 0.6, and our $10,000 budget at completion divided by 0.6 gives us $16,667. So if the cost performance index is going to impact our project then it’s actually going to end up we’re going to be behind for the rest of our project and it’s going to be more than our other estimate. So this is a really good thing to know if the cost or performance index is going to impact our estimate at completion.
There’s two more to go, let’s delve into them.
EAC When CPI and SPI Influences Future Work
This one is if both the CPI (cost performance index) and the SPI (schedule performance index) influence the remaining work. Previously we just had the CPI influencing the remaining work, now we’ve got CPI and SPI. So basically we’re just including those calculations in our Estimate at Completion.
EAC = AC + [(BAC – EV) / (CPI * SPI)]
So the actual cost ($5,000) plus budget at completion minus earned value ($10,000 – $3,000 = $7,000) divided by our CPI (cost performance index, 0.6) multiplied by our SPI (schedule performance index). This is probably one of the most complex ones. And even if you do get on the exam, you really need to know when you would use these particular things, so if the CPI and the SPI influence the remaining work then you will have to use this longer calculation because these two things are included. So our schedule performance index is EV / PV ($3,000 divided by $4,000) gives us 0.75.
So we’ve got all of these and when we multiply those two things (SPI and CPI) together we get 0.45. So that’s our answer there – we’ve got $5,000 plus $7,000 divided by 0.45 which (plus AC) equals $20,055. Because we’ve got cost influencing and schedule influencing, and we’re behind on cost and we’re behind on schedule, and we get a higher estimate again.
EAC with Bottom Up Estimate
Now lastly you do need to know that your Estimate at Completion could just be your your Actual Cost so far (which is $5,000) plus your bottom up estimate to completion. You may actually just figure all those costs for your project and add that to the total cost that you’ve spent so far. That’s another way if you need to change plans completely and everything has gone off the rails.
Those the different ways that you’ll look at your Estimate at Completion, and this is the foundation for the rest of the cost forecasting methods that we’re going to see when we check them out in the next video.
– David McLachlan
 Earned Value Analysis
 Management Reserves versus Contingency Reserves
 Lead Time and Lag Time
 The critical path method, and calculating float using the forward and backward pass.
 Precedence Diagramming Method
 Rolling Wave Planning
 What is the Schedule Performance Index?
 Project Schedule Compression Techniques
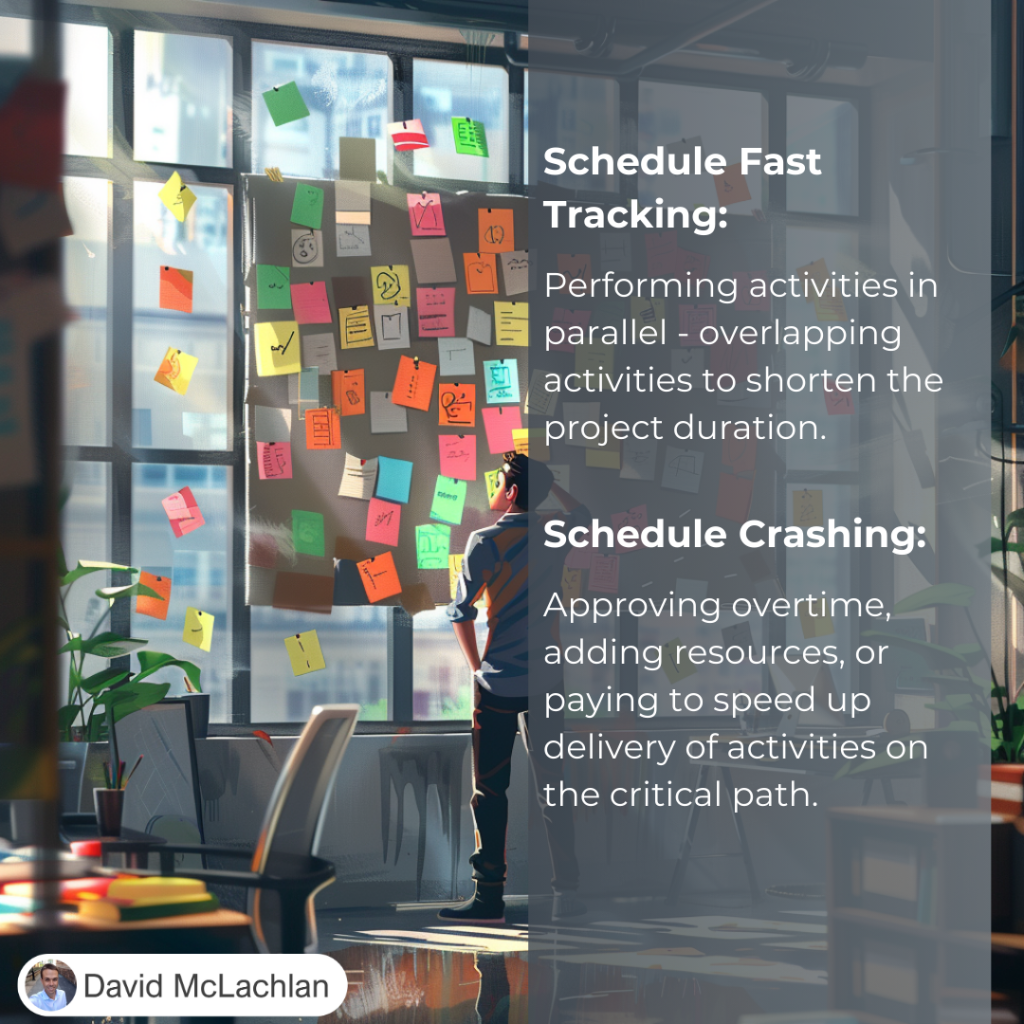
 The Critical Path and Float